Fish Care
Fish Welfare First

Better Fish Care, Healthier Waters

Every catch deserves respect. From unhooking mats to carp care kits, we champion responsible angling that protects the fish and the future of our sport. If you’re unsure about any aspect of fish care, get in touch with us — we’re here to help.

Every fishery has its unique qualities; the key is finding one that suits your personal preferences!

Fish Care Basics

“Fish care is common sense and straightforward... If there is any doubt, best to avoid it.”

Fishery Management

Every Fishery Has Its Unique Qualities

At Highbridge Angling Association, we’re proud to offer a variety of well-managed waters. Our focus is on accessibility, natural beauty, and sustaining healthy fish stocks.

Commitment to Excellence in Fishery Management

Across our four venues, we’re actively:

"Fish in good condition feed better and recover faster — and that’s central to our approach."

Fish Welfare at the Heart of Everything

Responsible stocking and high water quality are key. For example, our silvers lake is managed carefully, averaging 500–700 lbs per acre, increasing gradually each year.

Creating a Better Environment for Anglers and Fish

"Catch reports help us monitor stock and plan for the future."

Championing Education and Responsible Angling

Fish care isn’t optional. Every angler must bring an unhooking mat. Bailiffs will check.

At Walrow, shared gear is available thanks to a biosecurity grant. At Apex and Newtown, bring your own kit.

Local tackle shops:

Always wet your mat before use — especially in summer.

Why Carp Care Kits Are Essential

What’s in a Carp Care Kit?

Why Use One?

How to use:

  1. Gently dry the wound
  2. Apply gel
  3. Let it absorb
  4. Return fish once calm

Barbless vs. Micro Barbed Hooks

Barbless Hooks

✅ Less tissue damage
✅ Easier, faster unhooking
✅ Safer for anglers

Micro Barbed Hooks

Can be harder to remove and cause more injury.

At Highbridge AA, use what you're confident with — but priorities fish care.

Lets us know your thoughts? 

Best Practice Tips (Whatever Hook You Use)

Rigs: Popular Types Explained

Knotless Knot – Simple hair rig
D-Rig – Buoyant bait with anti-eject design
Combi Rig – Stiff boom and supple hook section
Multi Rig – Easy to change hooks
Blowback Rig – Anti-eject ring/swivel
Flipper Rig – Hair exits bend, flips hook
KD Rig – Great for wafters/pop-ups
Hinged Stiff Rig – Perfect for wary carp
Ronnie/Spinner Rig – Modern, aggressive hooking

Retaining Fish: Net, Sling or Sack?

Landing Net

Retainer Sling

Respect Our Venues

Toilets & Cleanliness

Swim Cleanliness

Rods & Etiquette


Taking Pictures of Your Catch

Capture the Moment Without Compromising Fish Welfare

A great photo starts with preparation. From setting up your tripod to positioning your hands correctly, every detail matters — not just for the perfect shot, but for the safety and wellbeing of the fish. Follow our tips to frame your catch beautifully while keeping handling time and stress to a minimum.

Take test shots beforehand

Before you even cast out, take a few moments to set up your camera and take some test shots. This ensures everything is framed, focused, and ready — so when the moment comes, you can capture it quickly without keeping the fish out of the water any longer than necessary.

Use tripod or remote shutter

Using a tripod or remote shutter means you can take clear, stable photos without needing someone else’s help — and most importantly, it reduces the time the fish spends out of the water. Set it up in advance so you’re ready the moment you land your catch.

Kneel with the fish:

Always kneel down when handling a fish for photos. Staying low over the unhooking mat reduces the risk of accidental drops and helps keep the fish calm and safe. It also gives you better control and makes for a more natural, respectful photo.

One hand under the pectoral fin, the other under the anal fin:

Support the fish properly by placing one hand just behind the pectoral fins and the other under the anal fin. This balanced hold protects the fish’s spine and internal organs, helping you lift it safely and comfortably for a quick photo before release.

Always keep fish wet:

Keeping the fish wet helps protect its delicate slime coat, gills, and scales. Splash water over the fish and unhooking mat regularly — especially in warmer weather — to prevent drying out and reduce stress during handling and photography.

Frame head/tail well

When taking photos, make sure the entire fish is in shot — from head to tail — with nothing cut off. A well-framed image not only looks better but also helps document the fish clearly for personal records, catch reports, or sharing online.

FAQ section image
FAQs

Photo Tips

  • Bright sunlight can create harsh shadows and glare, making it harder to capture a clear, flattering photo. Whenever possible, take photos in a shaded spot — it provides softer, more even lighting and keeps the fish cooler and less stressed.

  • Direct sunlight can cause overexposed patches and stress the fish, while dappled light creates uneven shadows that ruin your photo. Aim for consistent, soft lighting — full shade is best for both image quality and fish welfare.

  • For crisp, professional-looking shots, use your camera’s Portrait Mode or switch to Aperture Priority (A or Av). These settings create a soft, blurred background that makes the fish stand out while keeping your subject in sharp focus — perfect for showing off your catch without distractions.

  • Using a focal length between 35mm and 50mm gives the most natural-looking photo — similar to how the human eye sees. It avoids distortion, keeps proportions accurate, and ensures both the angler and fish look true to life.

  • Set your camera to Spot Focus and make sure the focus point is locked on the fish — especially the eye or head area. This keeps the fish sharp and detailed, while gently blurring the background for a clean, professional look.

Capture It Right: Camera Tips That Make a Difference

Choosing the Right Gear for Stunning, Responsible Catch Photography

Using the right camera settings helps you take clear, respectful photos of your catch — and supports our fishery management efforts.
 For the best results, use the following focal lengths based on your camera type:

  • Full-frame DSLR/mirrorless: 50mm
  • Crop sensor DSLR/mirrorless: 35mm
  • Bridge or compact cameras: Zoom to around 35mm

These settings provide natural-looking images without distortion, helping you capture the moment beautifully.
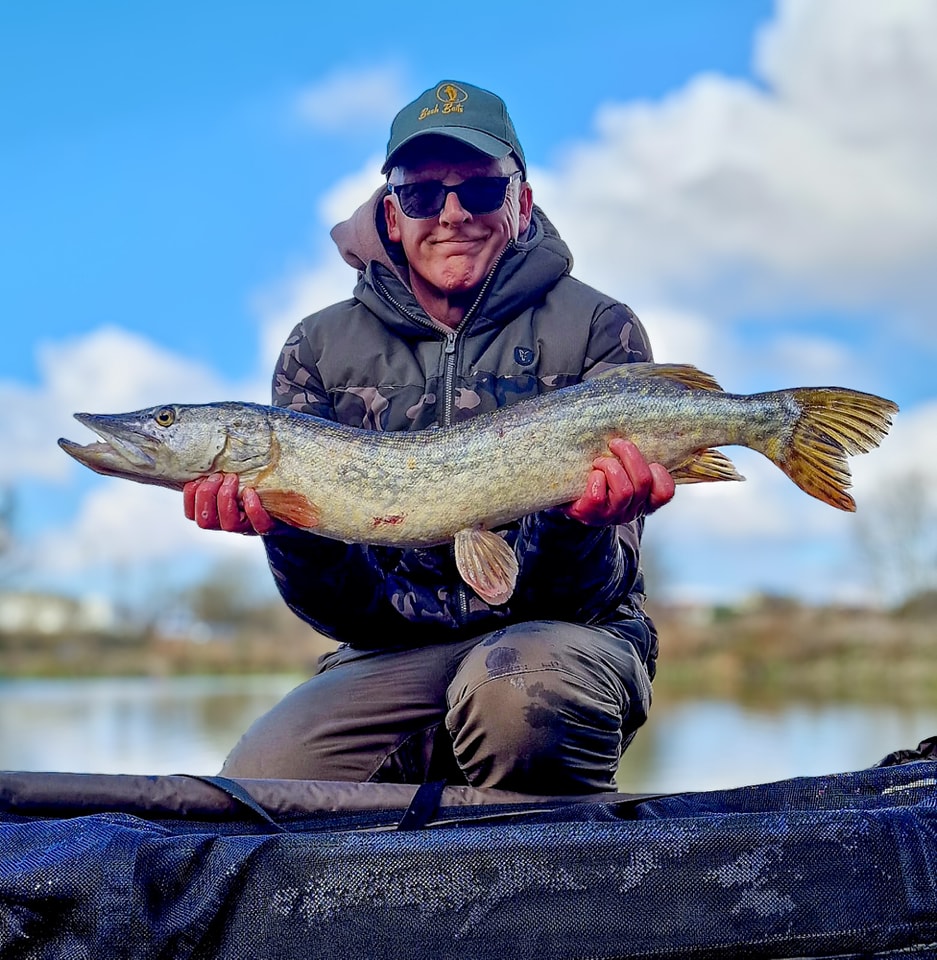
 Don’t forget: share your catch photos with Highbridge Angling Association — they help us monitor fish health, growth, and overall stock quality.

Should You Fish During Spawning?

Respect the Reproductive Cycle: Know When to Step Back

Fishing during the spawning season can cause unnecessary stress and disruption to fish at a critical point in their lifecycle. While it’s generally fine to fish around the spawning period, it’s important to avoid areas where fish are actively spawning or have just finished.


Disturbed fish may struggle to reproduce successfully, and they're often less likely to feed, making your session less productive too.

Always watch for signs like fish circling, bumping into each other, or splashing in shallow water — and give them space to recover.

Highbridge Angling Association may enforce temporary restrictions during peak spawning times to protect fish health and ensure sustainable stock for future generations.

Why Avoid It?

  • Stress to fish
  • Lower feeding response
  • Ethical concerns

Signs of Spawning

  • Circling, bumping into each other
  • Splashing in shallows
Avoid fishing in those areas and allow recovery time.

Spawning Calendar

  • February – Pike, dace
  • Mid-April – Perch, roach, bream
  • May–July – Carp
  • End May–June – Bream, tench
  • August – Juvenile fish appear

Stay in the Loop!

Sign up to get the latest updates on upcoming events, competitions, coaching sessions, and more from your club.